🧰 Tools & Gear You’ll Need
- High-quality blender or food processor
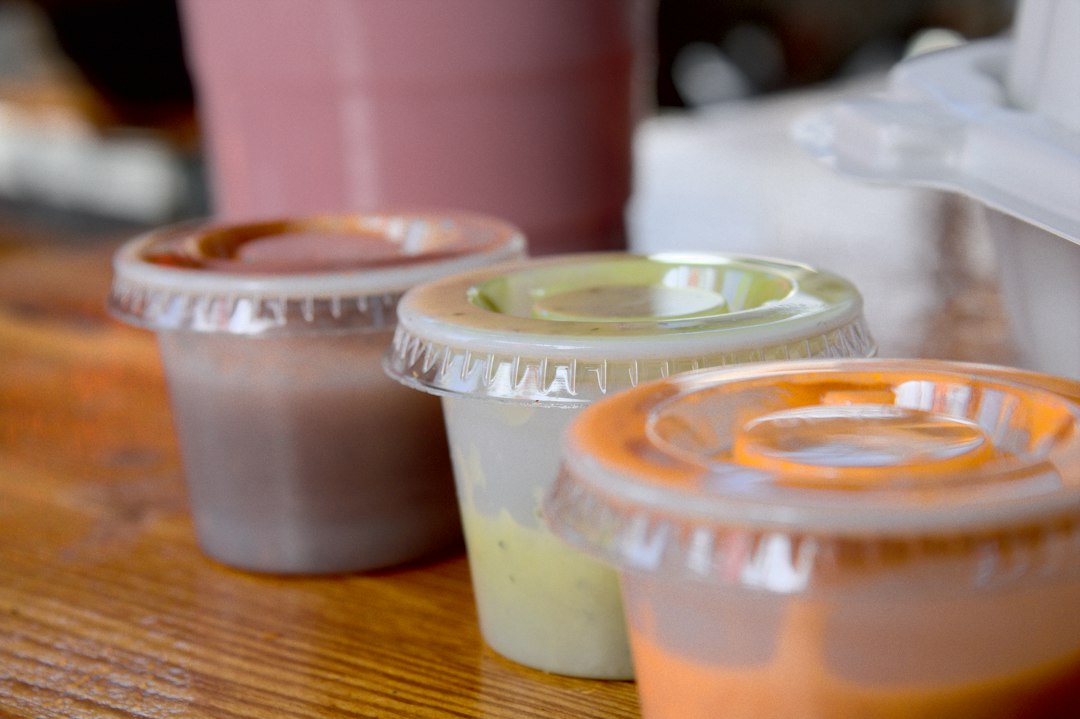
- Small, airtight freezer-safe containers (silicone trays, BPA-free plastic containers, glass jars)
- Freezer storage bags
- Permanent marker
- Measuring cups and spoons
- Baking sheet
- Small saucepan (for some vegetables/fruits)
- Ice cube trays (silicone recommended)
- Steamer basket
The Science of Nutrient Retention: Why Freezing Matters for Baby Purees
The journey of introducing solids to your baby is a milestone filled with joy and, let’s be honest, a fair amount of planning. Crafting homemade baby purees is a fantastic way to ensure your little one gets the freshest, most nutrient-dense food. However, the reality of busy parenting often means you can’t cook every single meal from scratch. This is where strategic freezing comes in, transforming your kitchen into a mini-preservation lab. But not all freezing methods are created equal, and mishandling can lead to a significant loss of those precious vitamins and minerals your baby needs. Understanding the “why” behind nutrient preservation is the first step to becoming a puree-prep pro.
Understanding Nutrient Loss in Baby Food
Nutrients, particularly water-soluble vitamins like Vitamin C and B vitamins, are delicate. They can degrade over time, especially when exposed to heat, light, and air. While fresh is always king, properly frozen purees can lock in a remarkable amount of goodness. The enemy here is oxidation and enzymatic activity, which continue even at cold temperatures, albeit at a much slower rate. When you steam or cook fruits and vegetables, some heat-sensitive vitamins are inevitably lost. Freezing, when done correctly, significantly slows down further degradation. Improper thawing, however, can undo all your hard work. Think of it like this: cooking is the initial hurdle for some nutrients, and freezing/thawing is the ongoing marathon. You need to nail both stages.
Optimal Freezing Techniques for Maximum Nutrient Preservation
The golden rule? Freeze foods quickly and keep them consistently cold. Rapid freezing creates smaller ice crystals, which cause less damage to the cell structure of the food, thereby retaining more nutrients and preserving texture. Avoid large, consolidated blocks of purees. Instead, think small, individual portions that freeze fast. This also makes thawing much more manageable. Blanching certain vegetables before freezing can also help deactivate enzymes that cause spoilage and nutrient loss. For high-acid fruits, adding a tiny bit of lemon juice (a mere drop per serving, before pureeing) can also help preserve color and Vitamin C.
Your Ultimate Guide to Freezing Homemade Baby Purees
Transitioning from cooking to freezing requires a systematic approach. It’s not just about shoving containers into the freezer; it’s about ensuring safety, quality, and convenience. Let’s break down the process into actionable steps that even the most sleep-deprived parent can follow.

Choosing the Right Containers for Freezing Purees
The container is your first line of defense against freezer burn and contamination. Forget those flimsy plastic takeaway containers; they warp, can leach chemicals, and don’t seal well. Invest in high-quality, BPA-free, freezer-safe containers. Silicone ice cube trays are phenomenal for single-serving portions – they’re flexible, making pop-out a breeze. For larger portions, opt for glass jars with tight-fitting lids or sturdy BPA-free plastic containers specifically designed for freezing. Always ensure whatever you choose is airtight. This is non-negotiable for preserving quality and preventing dreaded freezer burn.
Step-by-Step Freezing: From Pot to Freezer Safely
1. Prepare Your Puree: Cook your chosen fruits or vegetables until very tender. Steam or boil, then drain thoroughly. Avoid adding salt or sugar.
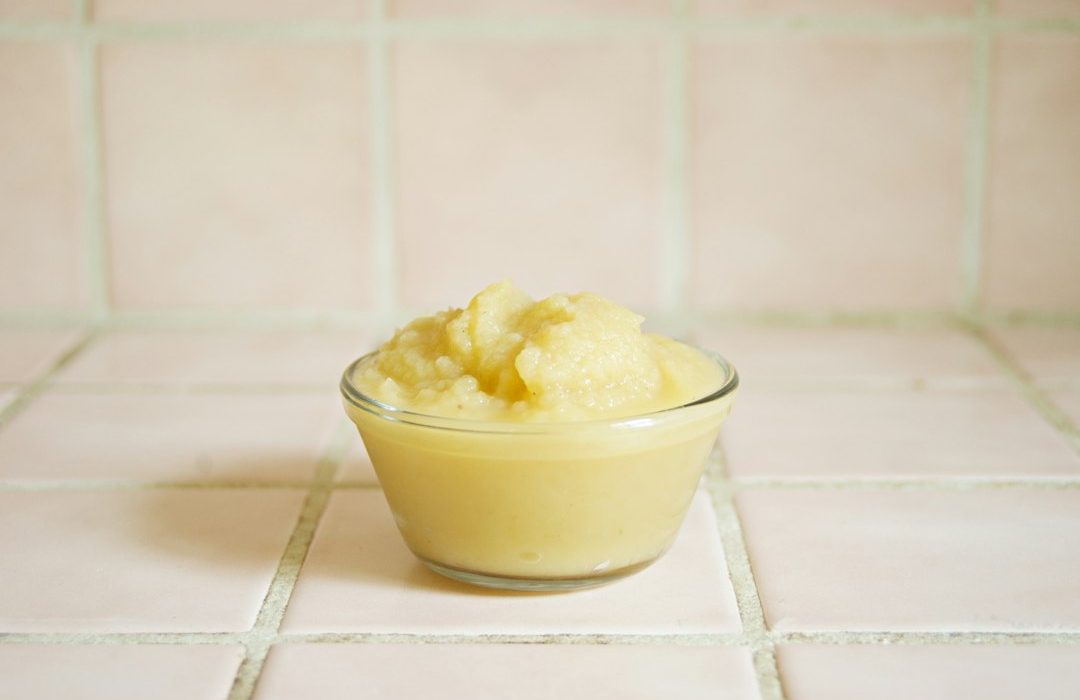
2. Puree to Perfection: Blend the cooked food until smooth using a blender or food processor. Add a little breast milk, formula, or cooled boiled water if needed to reach the desired consistency.
3. Cool Down Quickly: This is crucial. Let the puree cool to room temperature on the counter for about 30-60 minutes. Don’t leave it out for longer than two hours, as this invites bacterial growth. For faster cooling, you can place the pot of puree in an ice bath.
4. Portion and Fill: Spoon the cooled puree into your chosen containers (ice cube trays, small containers). Fill them, leaving a little headspace (about 1/4 inch) if using rigid containers, as food expands when frozen.
5. Flash Freeze (Optional but Recommended): Place the filled ice cube trays or containers on a flat baking sheet and put them in the freezer. This ensures they freeze evenly and quickly, minimizing ice crystal formation.
6. Transfer to Storage: Once the puree cubes are completely frozen solid (usually after 4-6 hours), pop them out of the trays. Place the frozen cubes or portions into labelled freezer bags or larger airtight containers. This protects them from freezer burn and allows you to reuse your trays.
7. Freeze Solid: Ensure the final storage containers are sealed tightly and placed in the coldest part of your freezer.
Cook & Cool Ingredients
Steam or boil your fruits and vegetables until fork-tender. Drain extremely well. Allow to cool to room temperature (or faster in an ice bath) before pureeing. Never puree hot food; it can damage your blender and create steam that can affect preservation.
Blend to Smoothness
Transfer cooled ingredients to a blender or food processor. Add a small amount of liquid (breast milk, formula, or water) if necessary to achieve a smooth, lump-free consistency suitable for your baby’s age and stage.
Portion into Freezing Vessels
Spoon the puree into your chosen freezing containers, such as silicone ice cube trays or small, airtight, BPA-free containers. Leave a small amount of headspace if using rigid containers.
Initial Freeze
Place the filled trays/containers on a level baking sheet and freeze until solid. This usually takes 4-6 hours. This “flash freeze” method ensures quick freezing and easy removal of portions.
Transfer to Long-Term Storage
Once frozen solid, pop the puree cubes out of the trays and transfer them into labelled freezer bags or larger airtight containers. Remove as much air as possible before sealing.
Portioning for Success: Perfect Portions for Every Meal
Babies have tiny stomachs and their appetites vary wildly. Freezing in small, pre-portioned servings is a game-changer. Ice cube trays typically hold 1-2 tablespoons, which is ideal for babies just starting solids. As your baby grows, you can use larger trays or small reusable containers. The key is to freeze portions that you can realistically use in one sitting. Re-freezing thawed baby food is a big no-no due to bacterial risk. So, portion control isn’t just about convenience; it’s a critical food safety measure.
Labeling Your Frozen Purees: Essential Information to Include
This is where many parents drop the ball, leading to a freezer full of mystery mush. Don’t just write “Carrots.” Be specific! Your label should include:
* Main Ingredient: (e.g., Sweet Potato, Pea, Apple)
* Date Frozen: This is critical for tracking freshness.
* Optional: Combo purees: (e.g., Apple & Cinnamon, Sweet Potato & Kale)
A good rule of thumb for purees is to use them within 3-6 months for optimal quality. While they might remain safe beyond this, the nutrient content and taste can decline. Always do a smell and visual check before serving.
Defrosting with Confidence: How to Safely Thaw Baby Purees
You’ve mastered the freeze, but thawing is where many nutrient-loss mistakes happen. The goal is to thaw gently and efficiently, minimizing bacterial growth and preserving as much nutritional value as possible. Avoid leaving purees on the counter at room temperature for extended periods.

The Best Thawing Methods: Fridge, Warm Water Bath, and Microwave (with Caution)
1. Refrigerator Thawing: This is the safest method. Transfer the frozen puree cube(s) from the freezer bag to a clean, airtight container and place it in the refrigerator overnight. This method is slow but ensures a consistent, safe temperature. Perfect if you plan ahead.
2. Warm Water Bath: Place the frozen puree cube(s) in a small bowl or jar. Submerge this container in a larger bowl filled with warm (not boiling) water. Replace the water as it cools. This is a faster method than refrigeration.
3. Microwave Thawing (Use Extreme Caution): While the fastest, this method carries the most risk of uneven heating and nutrient degradation. If you must use a microwave:
* Transfer the puree cube(s) to a microwave-safe dish.
* Use the defrost setting or low power.
* Heat in short intervals (15-30 seconds), stirring in between.
* Ensure there are no hot spots. Crucially, test the temperature thoroughly before serving. Microwaves can create pockets of extreme heat that can scald your baby’s mouth.
Signs Your Thawed Puree is Safe and Ready
Once thawed, give your puree a quick inspection.
* Smell: It should smell fresh, like the original ingredient. Any off, sour, or “off” odor means it’s time to discard.
* Appearance: The color should be vibrant and appealing. If it looks dull, discolored, or slimy, err on the side of caution.
* Temperature: Always, always, always test the temperature by dabbing a tiny amount on the inside of your wrist. It should feel lukewarm, never hot. Stir well after heating, especially if microwaved, to distribute heat evenly.
What to Do with Leftover Thawed Purees
The cardinal rule: Never re-freeze thawed baby food. Once food has been thawed, bacteria can start to multiply. If your baby didn’t finish a portion, it’s best to discard the leftovers for safety reasons. This is precisely why portioning correctly in the first place is so vital. Aim to thaw only what you anticipate your baby will eat.
Common Pitfalls & Expert Solutions in Freezing and Thawing
Even with the best intentions, things can go wrong. Knowing common mistakes can save you time, money, and prevent wasted food.
Preventing Ice Crystals and Freezer Burn
These unsightly, texture-ruining phenomena are caused by moisture loss and exposure to air.
* Solution: Use airtight containers. Ensure lids are sealed properly. For items stored in freezer bags, squeeze out as much air as possible before sealing. Avoid overfilling rigid containers, leaving a small headspace for expansion. Freezing quickly on a baking sheet first also helps.
Avoiding Spoilage and Contamination
This is paramount for your baby’s health.
* Solution: Practice good hygiene. Wash hands, utensils, and surfaces thoroughly. Cool purees quickly before freezing. Never leave purees at room temperature for too long. Adhere strictly to the “no re-freezing” rule. Label everything accurately with the date. Use within recommended timeframes (3-6 months is a good target for quality).
Troubleshooting Texture Changes After Freezing
Sometimes, even with careful freezing, purees can become watery or separated.
* Solution: This is often due to ice crystal damage. Stirring vigorously after thawing can sometimes help. For watery purees, you might be able to thicken them slightly by stirring in a tiny bit of infant cereal or another thick puree. If the texture is drastically altered or unappealing, it might be best to try a different batch or ingredient next time. Some foods freeze better than others; root vegetables tend to hold up better than high-water-content fruits like melon.

Advanced Tips for Nutrient-Rich Homemade Baby Food
Beyond the basic freeze and thaw, seasoned parents have tricks up their sleeves to maximize nutrition and variety.
Complementary Foods: Integrating Purees with Other Textures
As your baby progresses, they’ll need more than just smooth purees. Frozen puree cubes are versatile.
* For Textured Foods: Gently mash a thawed puree cube with a fork instead of fully blending. Mix it with soft finger foods like small pieces of avocado, banana, or well-cooked pasta.
* In Soups & Stews: Add a frozen puree cube (like carrot, sweet potato, or butternut squash) to a larger pot of mild soup or stew you’re making for the family. It adds nutrients and a touch of natural sweetness. Ensure the final temperature is safe for baby.
Seasonal Ingredient Swaps for Maximum Freshness and Nutrients
Leverage the seasons! Freezing allows you to capture peak-season produce at its nutritional best.
* Spring: Peas, spinach, asparagus, apricots.
* Summer: Berries (blueberries, raspberries), peaches, plums, zucchini, green beans.
* Fall: Pumpkin, butternut squash, apples, pears.
* Winter: Sweet potatoes, carrots, kale.
By freezing a variety of seasonal items, you ensure a diverse nutrient profile for your baby throughout the year. Plus, buying in season is often more economical.
Essential Gear for Effortless Baby Food Freezing and Thawing (2026)
Having the right tools makes the process significantly smoother and safer. Investing in quality gear saves hassle in the long run.
Top-Rated Ice Cube Trays for Purees
Look for trays made from food-grade silicone. They are flexible, easy to clean, and allow for effortless removal of frozen portions. Ensure they come with lids to prevent contamination and odor absorption.
Recommended Freezer-Safe Storage Containers
BPA-free plastic containers with airtight seals are good for larger portions. Glass jars (like small baby food jars or Mason jars) are another excellent, non-reactive option, though they are heavier and can break if dropped. Always check that they are explicitly freezer-safe.
Must-Have Utensils for Prep and Serving
A reliable blender or food processor is non-negotiable. Beyond that, having a good set of small spatulas for scraping purees into trays, a permanent marker for labeling, and perhaps a small whisk for combining thawed purees with other foods will streamline your workflow.